Table of Contents
Whether you’re doing a website hosting transfer or you are simply trying to script your own database yourself, adding a new database to Plesk is very easy.
Step 1: Creating a New Database (if there isn’t already one created) #
When you create a new domain in Plesk, a database is already created. However, you always have the option to create a new one or replace the current one. For this guide, we will create a new MySQL database to add.
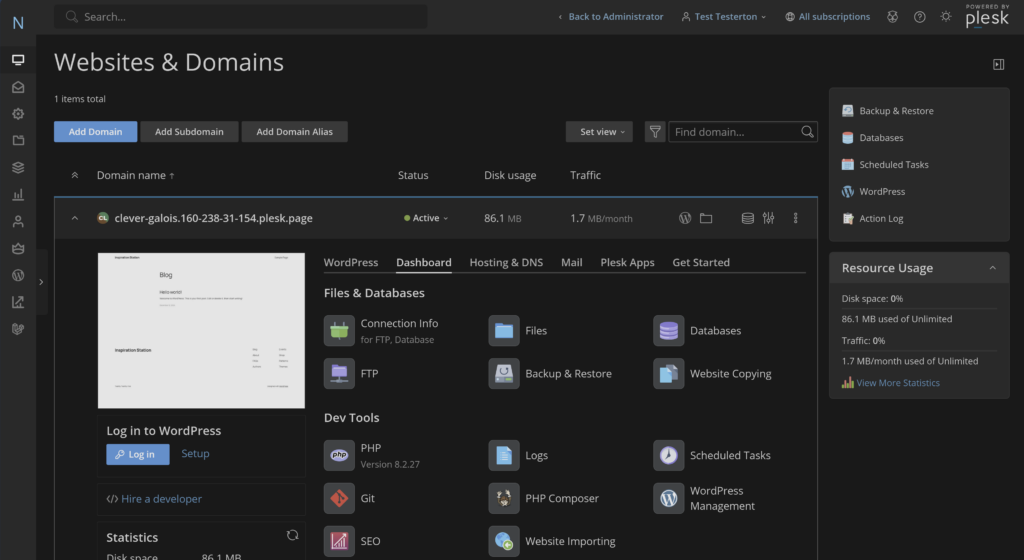
- On your Plesk domain page dashboard, click on Databases.
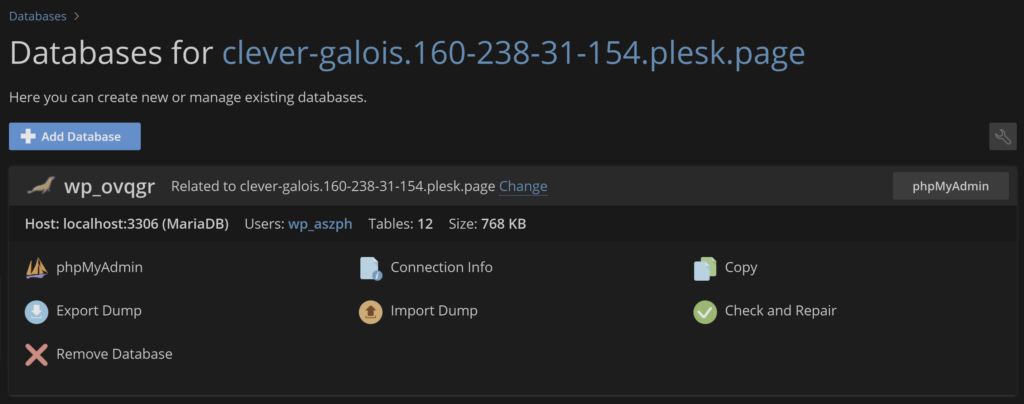
- You should be seeing a list of all of the databases connected to your domain. At the top of the page, click on Add Database.
- Once you are add the Add Database page for your domain, make sure to give your database a name at the top.
- Under the Users section, you have the option of setting an initial database user. Fill in the credential information if you’d like to do so.
- For the Access Control setting, you have the option of allowing local connections only, remote connections from any host, and more. Since your site will be the one mostly interacting with the database, make sure to leave the local connection option selected.
- Once you have set these options, click OK.
- You should be led back to the database list again with your new database created.
Step 2: Importing the Database Dump #
The only way to transfer a database manually is with a dump of the original database, which is a SQL file with commands to create a new database with the schema and records of the original database. In order to finish uploading the database, we must import it into the one we just created in Step 1.
- Once you are back on the database list, find the database you created and within the mini-dashboard of this database, click on Import Dump.
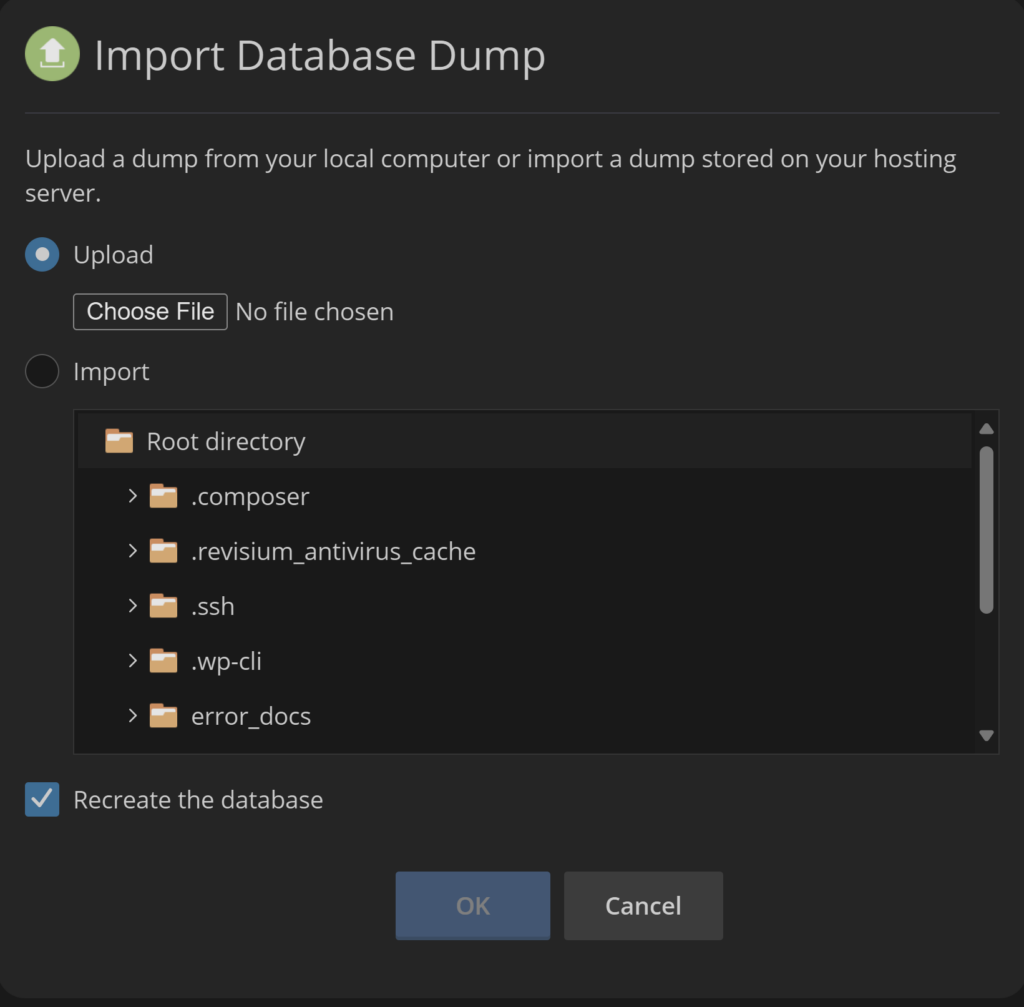
- You should get a pop-up where you have a choice between uploading a SQL file from your computer or importing the file from somewhere else in your domain file system. For the sake of this guide, we will be uploading a local file. Therefore, make sure to select the Upload radio button for doing so.
- Once you have chosen your file, make sure that the Recreate your database checkbox is selected, then click OK.
- This may take a couple of minutes depending on the size of the database you are importing.
- Once the database upload and recreation has finished, next to the new database name, click on Assign this database to a site (if you haven’t already).
- A dropdown should appear with a list of the domains on your subscription. Click on one of those and click OK.
Figures #