One very important (and sometimes, life-saving) aspect of Plesk is that it gives you the opportunity and the blessing of backing up everything. Regardless of what type of user you are, you are able to create your own backups and depend on us (your friendly system administrators) to create backups ourselves to make sure your data is preserved. Here’s how you can create yours!
Please keep in mind that we, the NADCloud team, recommend perform external backups (in other words, backups that you’d store on an external file server) for the sake of separation of concerns and several other important factors. Click here to learn how to set up the remote connection for your external backups.
Step 1: Deciding what You would like to Back Up (and Performing an Initial Full Backup) #
Plesk really makes it easy to pick and choose what you would like to back up.
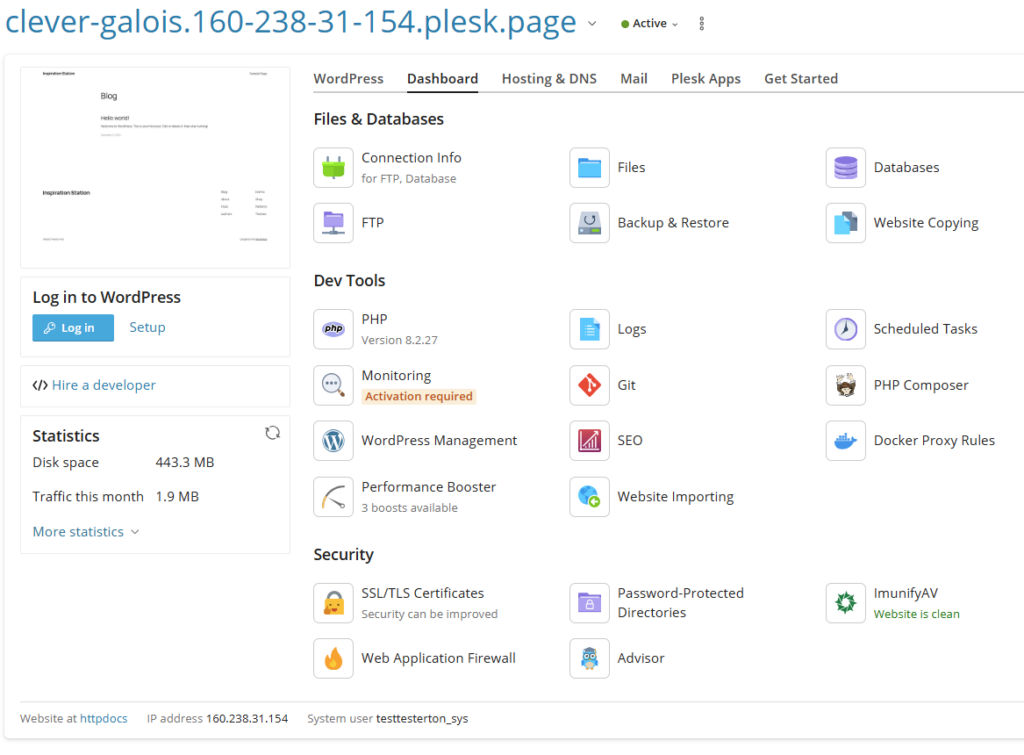
- On your domain dashboard, click on Backup & Restore.
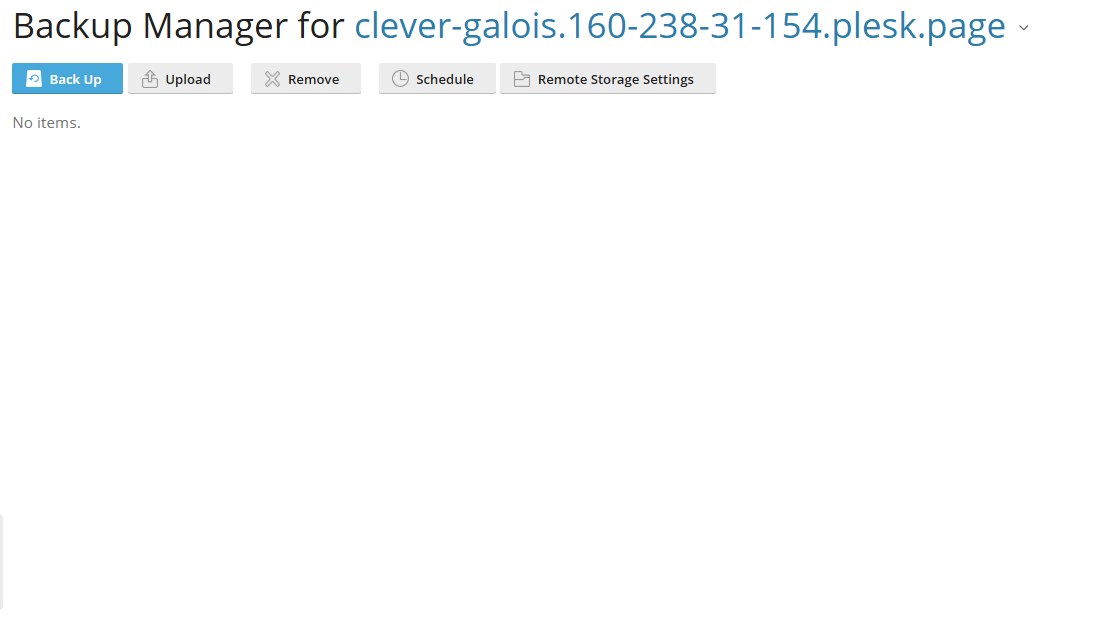
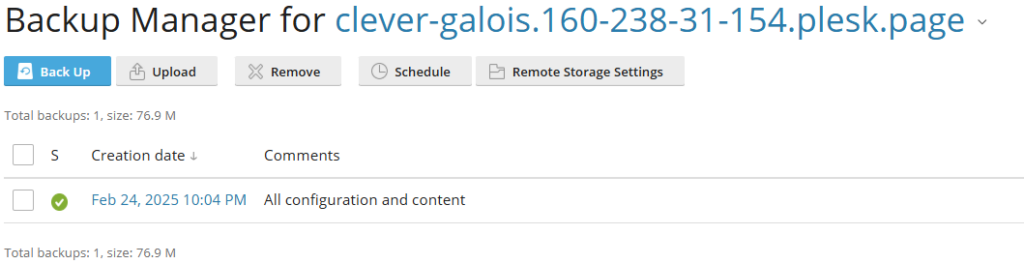
- You should see a page that would normally list the backups you currently have (unless you created a totally new domain, which would be the case in this particular guide). At the top left, click on Back Up.
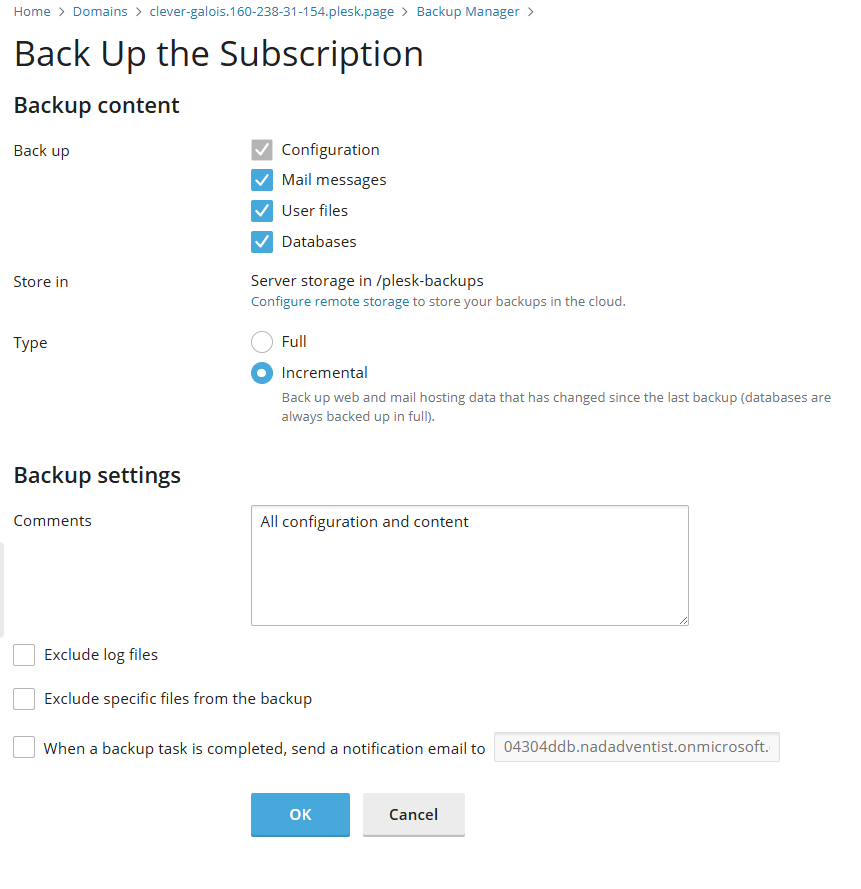
- On the Backup page, you can see several options for backing up mail messages, user files, and databases, as well as where to store your backups.
- It is recommended that all of the checkboxes for the backup content be checked.
- It is also recommended that remote storage be configured for your backups to prevent possible issues involving space.
- You should also see an option for either a Full or Incremental backup
- Full Backup – backing up absolutely all of the information at one time
- Incremental Backup – only backing up most recent changes to an earlier backup
- If you haven’t done a backup yet, it’s best to start off with a Full backup.
- Once you have selected these options, you can choose among the remaining checkboxes whether or not you’d like to exclude log files or other specific files from your backup. You can also choose to be notified when a backup is completed.
- When you are finished with all of these settings, click OK.
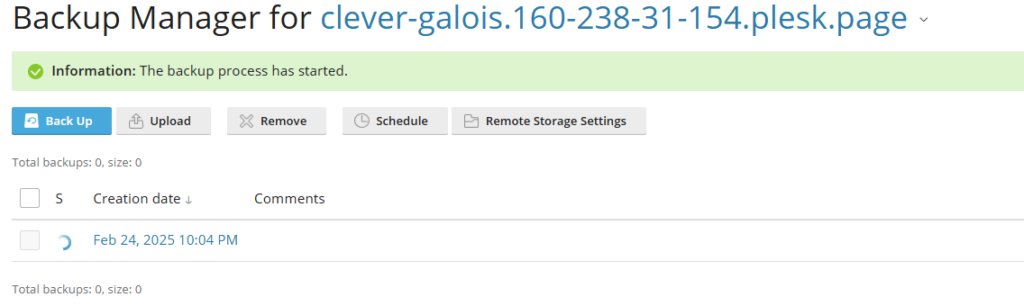
- You should be redirected to the backup list page, where you will see the process of your backup starting.
Step 2: Scheduling Backups #
Having a scheduled backup is very important, especially since…
“Data is a precious thing and will last longer than the systems themselves.”
— Tim Berners-Lee
- Once the backup list page, near the page title, click on the Schedule button.
- You will find most of the same settings from Step 1 but here is where you will set the exact time and how often (daily, weekly, or monthly) the backup will automatically be created.
- Once you have made the settings and decided on a time and frequency for your backup, click either Save or Apply. Apply will confirm the changes and keep you on the same page. Save will confirm the changes and redirect you to the backup list page again.
Figures #